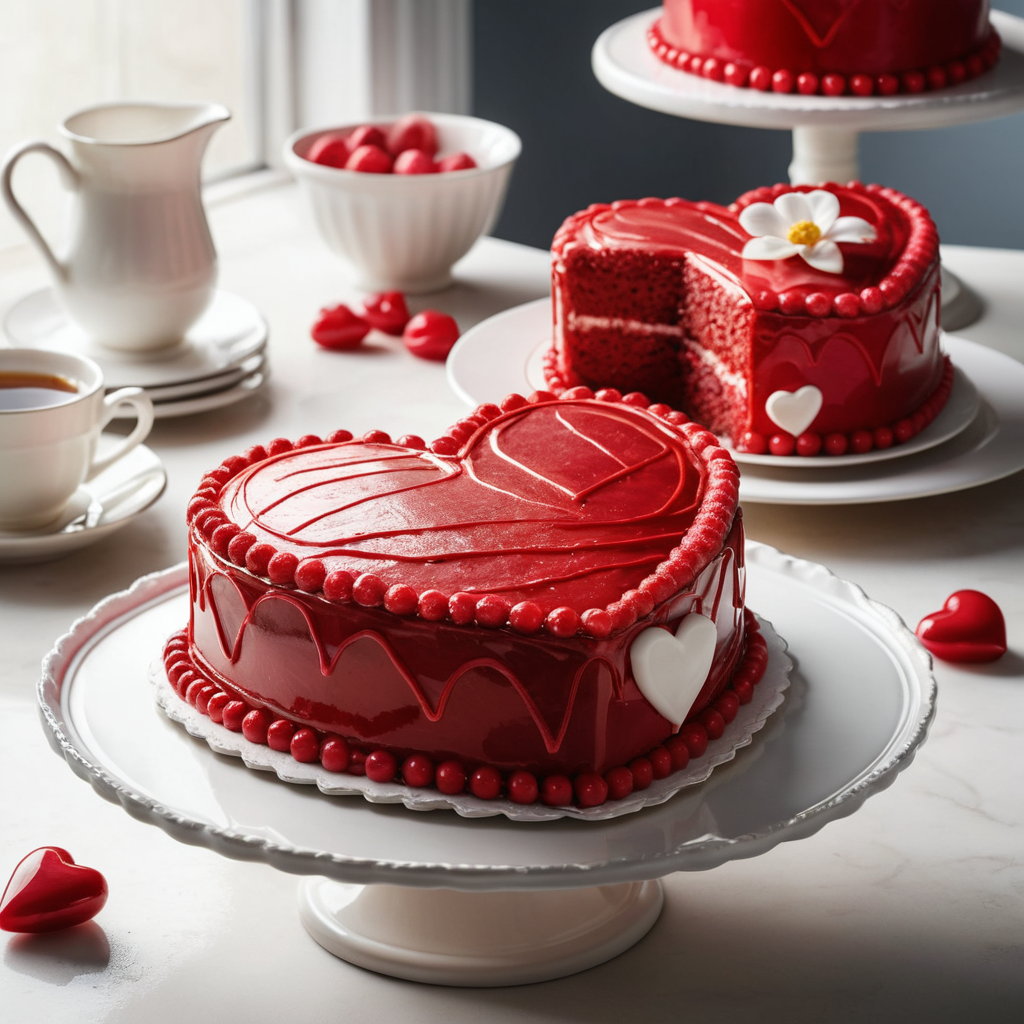
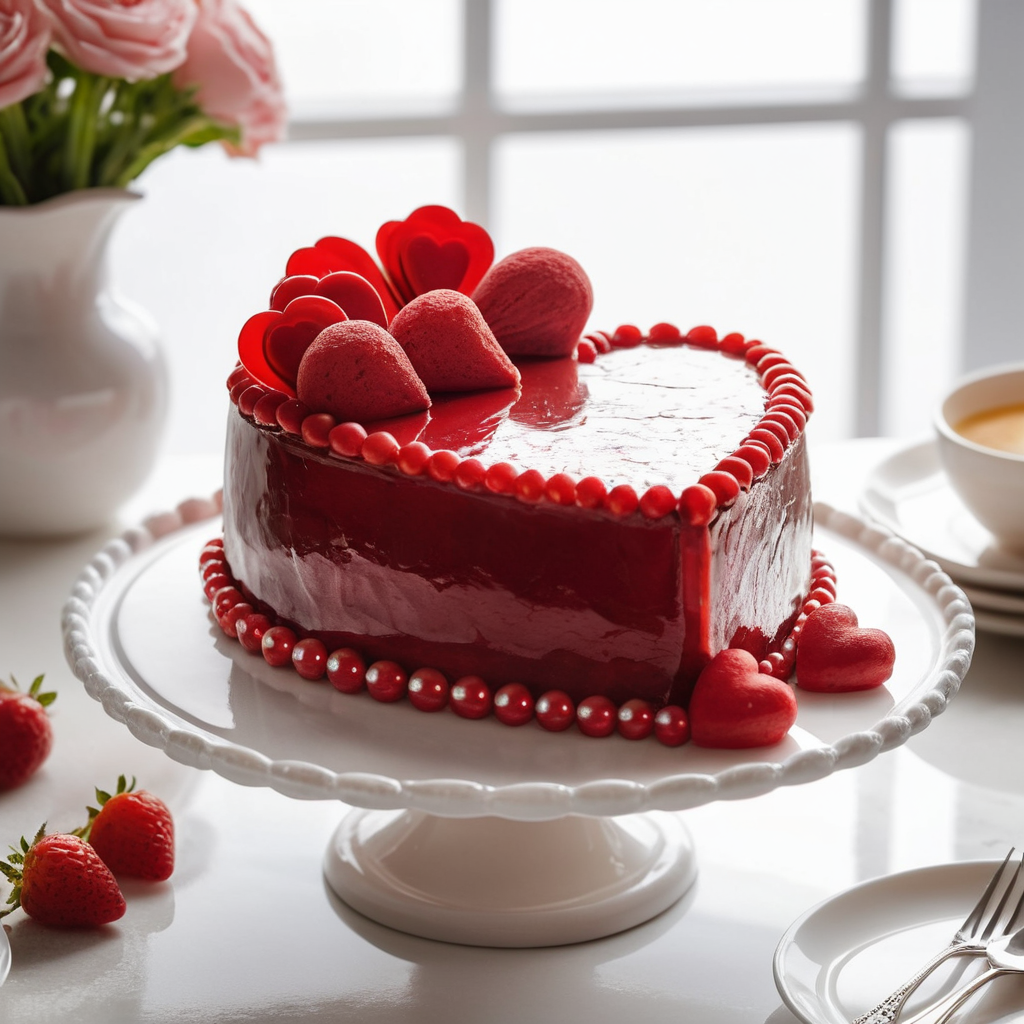
How to Make a Perfect Heart Cake at Home: A Step-by-Step Guide
There’s something uniquely special about a heart-shaped cake. Whether it’s for Valentine’s Day, a birthday, an anniversary, or simply to show someone how much you care, a heart cake conveys love and affection in a way that words cannot. Imagine surprising a loved one with a beautifully crafted cake, lovingly baked in your own kitchen. Not only is it a wonderful gift, but it’s also an opportunity to create cherished memories.
In this comprehensive guide, you’ll learn everything you need to know about making the perfect cake recipe at home. From gathering the right tools and ingredients to decorating it like a pro, we’ve got you covered. Let’s dive in and bring your vision of a perfect cake to life!
Table of Contents
Tools and Ingredients Needed for a heart shaped cake
Before you begin, it’s crucial to have the right tools and ingredients. A successful cake starts with good preparation.
Essential Tools
You’ll need these basic tools to create your cake:
- Heart-shaped cake pan: This is the most critical tool for achieving the iconic shape.
- Mixing bowls: Use at least two—one for wet ingredients and one for dry.
- Measuring cups and spoons: Precision is key to a successful bake.
- Electric mixer or whisk: Helps achieve the perfect batter consistency.
- Spatula: Great for scraping bowls and applying frosting.
- Cooling rack: Ensures your cake cools evenly and avoids soggy bottoms.
Ingredients
Here’s a detailed breakdown of the ingredients you’ll need.
| Ingredient | Quantity |
| All-purpose flour | 2 cups |
| Granulated sugar | 1 ¾ cups |
| Baking powder | 2 teaspoons |
| Salt | ½ teaspoon |
| Butter (softened) | 1 cup |
| Eggs | 3 large |
| Vanilla extract | 2 teaspoons |
| Milk | 1 cup |
| Red food coloring | As needed |
These ingredients are the foundation for a classic recipe, but you can customize them with flavor variations like chocolate or lemon.
Preparing the Cake Batter
Baking is a science, and following each step carefully ensures the best results. Here’s how to make the batter:
Step 1: Preheat Your Oven
Set your oven to 350°F (175°C) and grease your heart-shaped pan with butter or nonstick spray. This prevents sticking and helps achieve clean edges.
Step 2: Mix the Dry Ingredients
Combine the baking powder, salt, and all-purpose flour in a large mixing basin and whisk to combine. This ensures even distribution of leavening agents.
Step 3: Cream Butter and Sugar
In another bowl, use an electric mixer to beat the softened butter and granulated sugar until the mixture is light and fluffy. This step incorporates air into the batter, resulting in a soft and tender cake.
Step 4: Add Wet Ingredients
Beat in the vanilla essence after gradually adding the eggs, one at a time. Mix until everything is well combined. For the desired tint, add a few drops of red food coloring.
Step 5: Combine Wet and Dry Mixtures
In the butter mixture, alternately add the dry ingredients and milk, beginning and ending with the dry components. Mix gently to avoid overworking the batter, which can make your cake dense.
Baking the Heart Cake
With your batter ready, it’s time to bake yours .
Step 1: Pour the Batter
Carefully pour the batter into the prepared heart-shaped pan. Use a spatula to smooth the surface and remove air bubbles by gently tapping the pan on the counter.
Step 2: Bake to Perfection
Put the pan on the center rack of the oven and bake it for thirty to thirty-five minutes. Place a toothpick in the center of the cake to test its doneness; if it comes out clean, the cake is done.
Step 3: Cool the Cake
Allow the cake to cool in the pan for about 10 minutes, then transfer it to a cooling rack. Let it cool completely before decorating to prevent the frosting from melting.
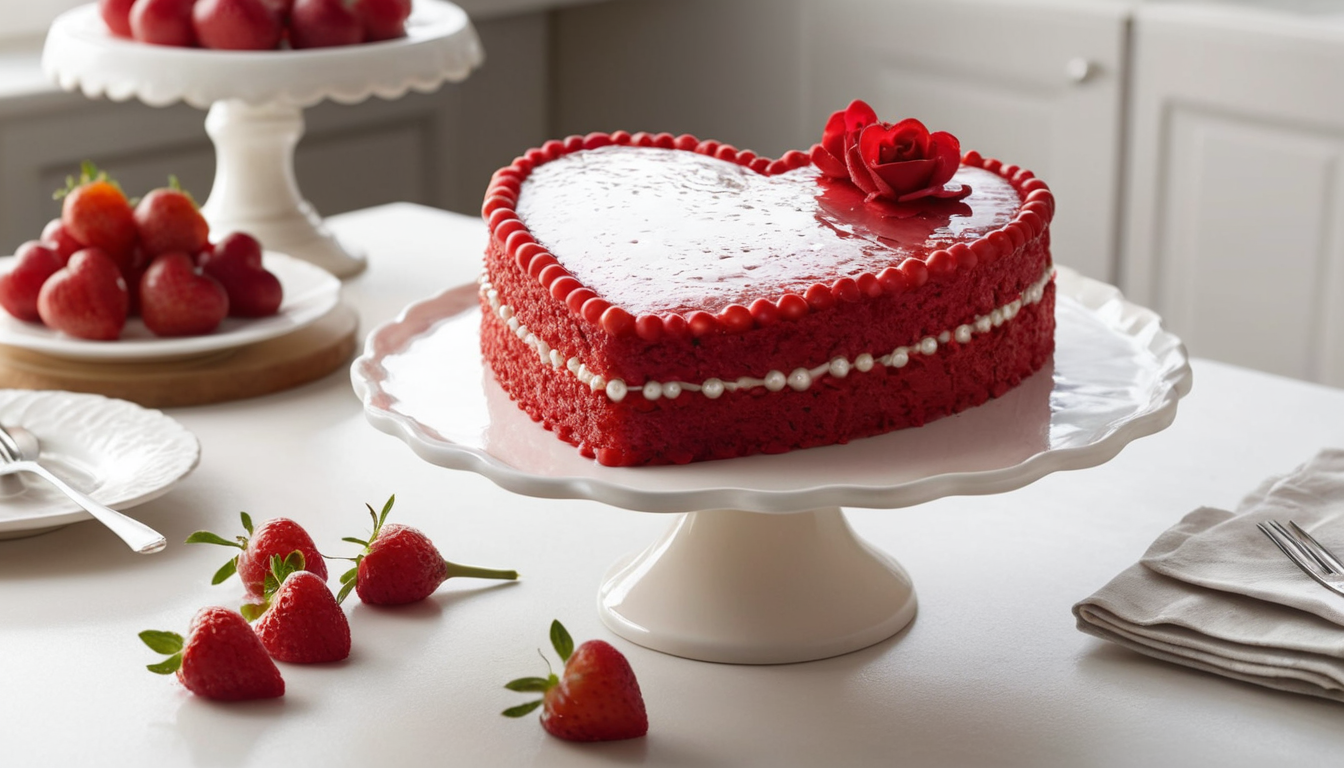
Decorating Your Heart Cake
Decoration is where your creativity shines. Whether you prefer a simple or elaborate design, this section will guide you through the process.
Choosing Your Frosting
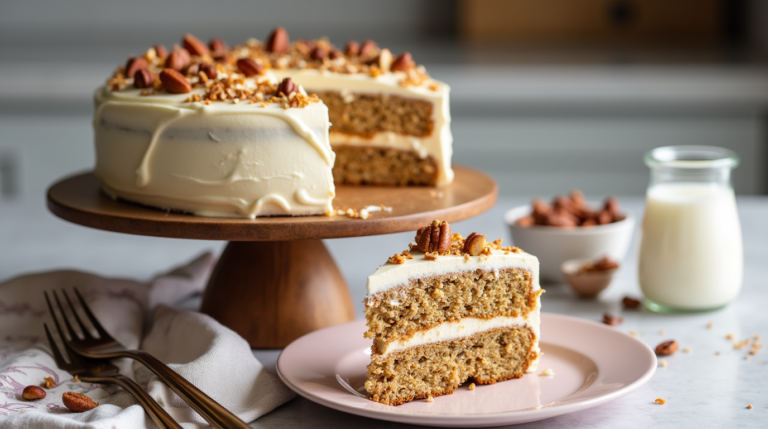
- Cream Cheese Frosting: Perfect for a rich, tangy flavor.
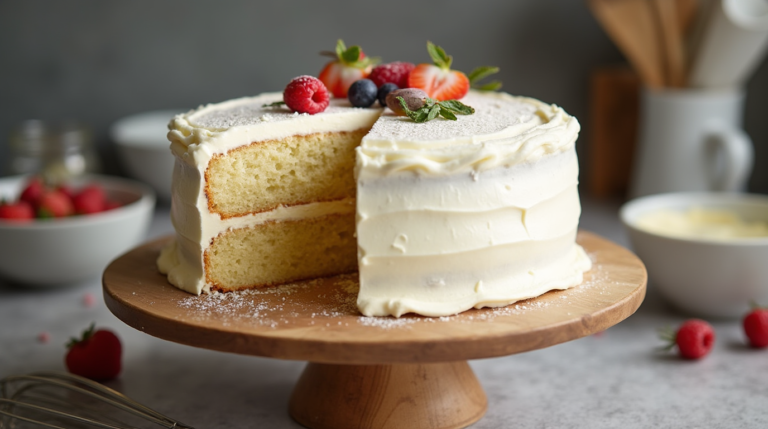
- Buttercream Frosting: A versatile and easy-to-color option.
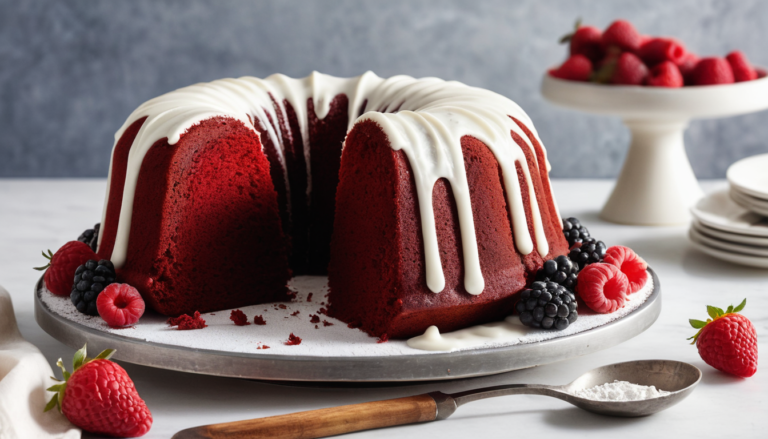
- Chocolate Ganache: Ideal for a luxurious, glossy finish.
Frosting Tips
- Apply a crumb coat (a thin layer of frosting) to seal in crumbs and create a smooth surface.
- Use an offset spatula for even application.
- Chill the cake for 15–30 minutes before applying the final layer.
Adding the Final Touches
Enhance your cake with these finishing touches:
- Sprinkles or edible glitter for a festive look.
- For a taste and color boost, use fresh fruit like raspberries or strawberries.
- Personalized messages written with piping gel or melted chocolate.
Heart Cake
Ingredients
- 2 cups All-purpose flour
- 1 ¾ cups Granulated sugar
- 2 teaspoons Baking powder
- ½ teaspoon Salt
- 1 cup Butter
- 3 large Eggs
- 2 teaspoons Vanilla extract
- 1 cup Milk 1 cup
- Red food coloring As needed
Instructions
Step 1: Preheat Your Oven
- Set your oven to 350°F (175°C) and grease your heart-shaped pan with butter or nonstick spray. This prevents sticking and helps achieve clean edges.
Step 2: Mix the Dry Ingredients
- Combine the baking powder, salt, and all-purpose flour in a large mixing basin and whisk to combine. This ensures even distribution of leavening agents.
Step 3: Cream Butter and Sugar
- In another bowl, use an electric mixer to beat the softened butter and granulated sugar until the mixture is light and fluffy. This step incorporates air into the batter, resulting in a soft and tender cake.
Step 4: Add Wet Ingredients
- Beat in the vanilla essence after gradually adding the eggs, one at a time. Mix until everything is well combined. For the desired tint, add a few drops of red food coloring.
Step 5: Combine Wet and Dry Mixtures
- In the butter mixture, alternately add the dry ingredients and milk, beginning and ending with the dry components. Mix gently to avoid overworking the batter, which can make your cake dense.
Notes
Baking the Heart Cake
With your batter ready, it’s time to bake yours .Step 1: Pour the Batter
Carefully pour the batter into the prepared heart-shaped pan. Use a spatula to smooth the surface and remove air bubbles by gently tapping the pan on the counter.Step 2: Bake to Perfection
Put the pan on the center rack of the oven and bake it for thirty to thirty-five minutes. Place a toothpick in the center of the cake to test its doneness; if it comes out clean, the cake is done.Step 3: Cool the Cake
Allow the cake to cool in the pan for about 10 minutes, then transfer it to a cooling rack. Let it cool completely before decorating to prevent the frosting from melting.Decorating Your Heart Cake
Decoration is where your creativity shines. Whether you prefer a simple or elaborate design, this section will guide you through the process.Choosing Your Frosting
- Cream Cheese Frosting: Perfect for a rich, tangy flavor.
- Buttercream Frosting: A versatile and easy-to-color option.
- Chocolate Ganache: Ideal for a luxurious, glossy finish.
Frosting Tips
- Apply a crumb coat (a thin layer of frosting) to seal in crumbs and create a smooth surface.
- Use an offset spatula for even application.
- Chill the cake for 15–30 minutes before applying the final layer.
Adding the Final Touches
Enhance your cake with these finishing touches:- Sprinkles or edible glitter for a festive look.
- For a taste and color boost, use fresh fruit like raspberries or strawberries.
- Personalized messages written with piping gel or melted chocolate.
Common Mistakes to Avoid
Even experienced bakers can encounter challenges. Avoid these pitfalls for the best results:
- Overmixing the batter: This can result in a dense, tough cake.
- Not greasing the pan thoroughly: Leads to sticking and uneven edges.
- Decorating too soon: Frosting a warm cake will cause it to melt and slide off.
Tips for a Memorable Baking Experience
Making a heart shaped cake is about more than just the end result. Here are a few tips to make the process enjoyable:
- Involve loved ones: Baking together is a great bonding activity.
- Play music or an audiobook to set the mood.
- Take pictures throughout the process to capture the memories.
Bonus: Flavor Variations for Heart Cakes
If you’d like to experiment with different flavors, try these variations:
- Chocolate heart shaped cake: Use cocoa powder in place of ½ cup of flour..
- Lemon heart shaped cake: Add the zest and juice of one lemon for a refreshing twist.
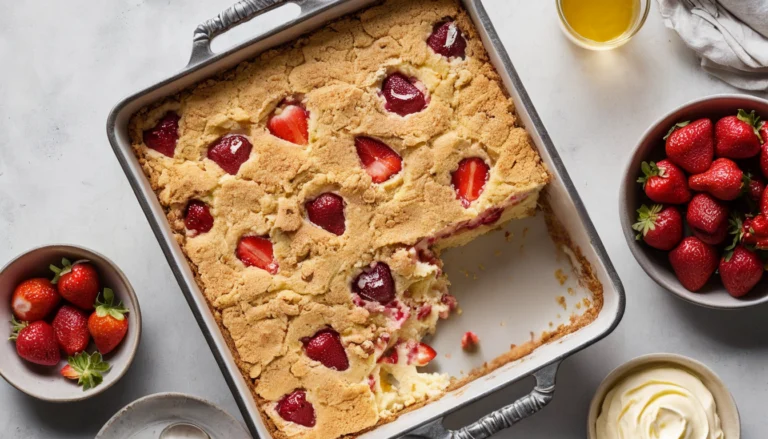
- Strawberry Heart Cake: Fold in diced fresh strawberries for bursts of flavor.
Conclusion
Making a heart shaped cake at home is a rewarding experience that combines creativity, love, and a touch of kitchen magic. With this guide, you now have the tools, techniques, and inspiration to bake a perfect heart cake that will impress your loved ones and create lasting memories.
Don’t stop at just one—experiment with different flavors, decorations, and occasions to make heart cakes a signature part of your celebrations. Share your creations with friends and family or on social media, and inspire others to bake with love.
FAQs
Can I Make a Heart Cake Without a Heart-Shaped Pan?
Absolutely! Use a square pan and a round pan.Cut the round cake in half and arrange the halves on adjacent edges of the square cake to form a heart shape.
How Do I Prevent My Cake from Sticking?
Grease the pan generously with butter or nonstick spray and line the bottom with parchment paper for added assurance.
What’s the Best Frosting for a Heart Cake?
Cream cheese frosting pairs beautifully with a red velvet heart cake, while buttercream is great for versatile designs.
Can I Make a Gluten-Free Heart Cake?
Yes! Substitute the all-purpose flour with a gluten-free flour blend and ensure your other ingredients are gluten-free.
How Do I Store a Heart Cake?
Store your cake in an airtight container at room temperature for up to two days or in the fridge for up to a week.
Loved It? Let Us Know!
There are no reviews yet. Be the first one to write one.