The Best Red Velvet Pound Cake Recipe You’ll Ever Try
Introduction
Imagine that a gorgeous red velvet pound cake is the focal point of your dessert table at a party you’re hosting. Long after the plates are put away, your guests will still be talking about the cake because of its deep chocolate flavor, creamy cream cheese icing, and vivid red color. Baking not only makes the kitchen happier, but it also fosters memories and special experiences.
Your go-to source for creating the perfect red velvet pound cake is this guide. We’ve included all the tricks, methods, and advice to guarantee that your cake always turns out flawlessly, regardless of your level of baking experience.
Table of Contents
What Makes This the Best Red Velvet Pound Cake Recipe?
Rich Cocoa Flavor
Red velvet isn’t just about the color; it’s the unique blend of cocoa, vanilla, and tangy buttermilk that sets it apart. Each bite offers a balanced taste, combining sweetness with a subtle hint of chocolate.
Perfect Moist Texture
Achieving the right texture is key to a successful pound cake. This recipe ensures a moist, dense crumb that’s not too heavy, thanks to a precise combination of wet and dry ingredients.
Eye-Catching Appeal
Let’s face it—the vibrant red color is part of the allure. This recipe uses the perfect amount of food coloring to achieve a striking red without overpowering the taste.
Ingredients for Red Velvet Pound Cake
Having the right ingredients is critical for both flavor and texture. Here’s a breakdown of what you’ll need:
| Ingredient | Quantity |
| All-purpose flour | 2 ½ cups |
| Unsalted butter (softened) | 1 cup |
| Granulated sugar | 2 cups |
| Eggs (large) | 4 |
| Buttermilk | 1 cup |
| Red food coloring | 2 tablespoons |
| Unsweetened cocoa powder | 1 tablespoon |
| Vanilla extract | 2 teaspoons |
| White vinegar | 1 teaspoon |
| Baking powder | 1 teaspoon |
| Salt | ½ teaspoon |
Ingredient Insights
- Buttermilk: The acidity reacts with the cocoa powder to enhance the flavor and texture.
- Unsalted Butter: Creates a rich, creamy base.
- Red Food Coloring: Gel-based coloring works best for vibrant results without thinning the batter.
Step-by-Step Guide to Making the Perfect Red Velvet Pound Cake
Step 1: Prep Your Kitchen
- Preheat the oven to 350°F (175°C).
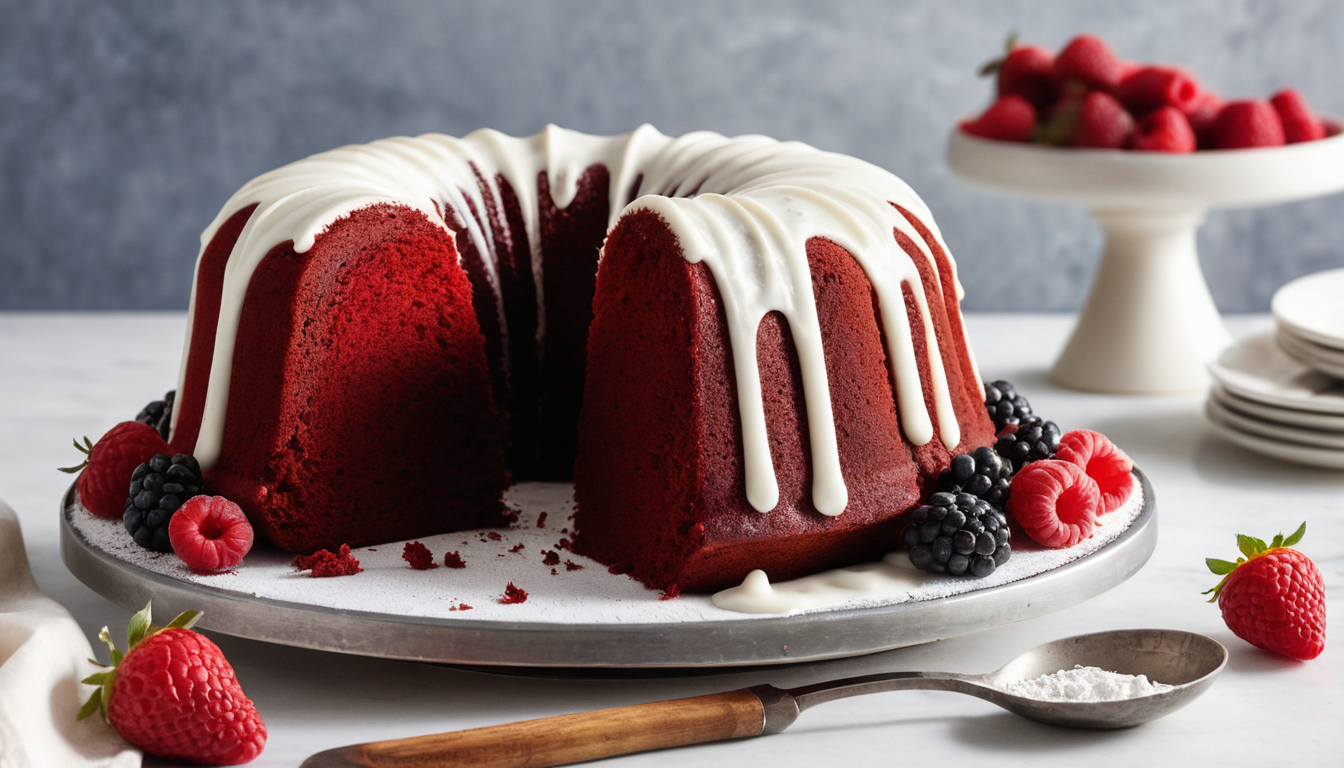
- Grease and flour your bundt pan or loaf pans thoroughly to ensure an easy release.
Step 2: Combine Dry Ingredients
- Combine the flour, baking powder, cocoa powder, and salt in a large mixing basin and whisk to combine.
Step 3: Cream Butter and Sugar
- Using an electric mixer, beat the softened butter and sugar on medium-high speed until light and fluffy. This step incorporates air into the batter, ensuring a soft texture.
Step 4: Mix Wet Ingredients
- Add the eggs one at a time, beating well after each addition.
- Slowly pour in the buttermilk, vinegar, food coloring, and vanilla extract.
Step 5: Fold Everything Together
- The dry components should be added to the wet mixture gradually. Stir just until combined to avoid overmixing.
Step 6: Bake
- Pour the batter into the prepared pan.
- Use a toothpick inserted in the center to check for doneness after baking for 55 to 65 minutes.
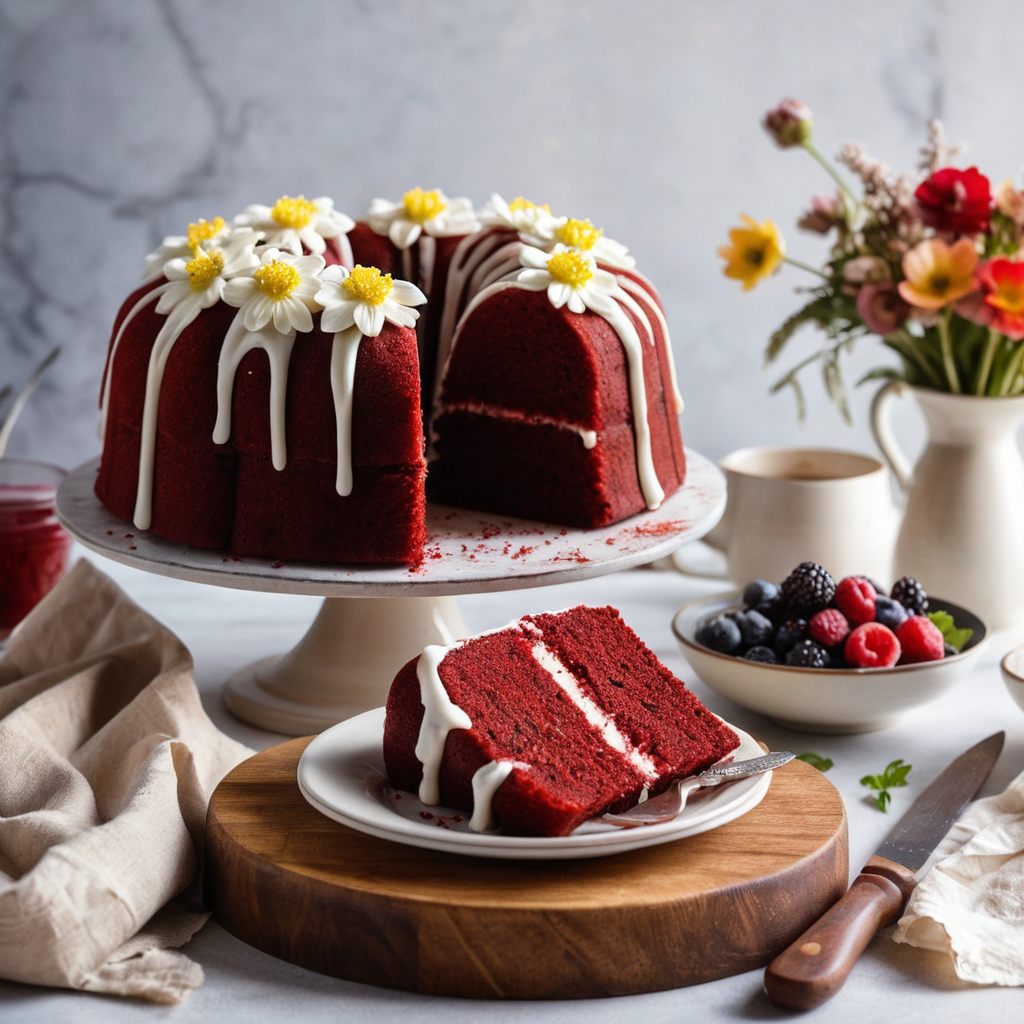
Decorating Your Red Velvet Pound Cake
Even a simple glaze can elevate the presentation of your pound cake. Here are a few ideas:
Classic Cream Cheese Glaze
- Combine 4 ounces of softened cream cheese, 1 cup of powdered sugar, and 2 tablespoons of milk. After whisking until smooth, pour over the cake that has cooled.
Optional Garnishes
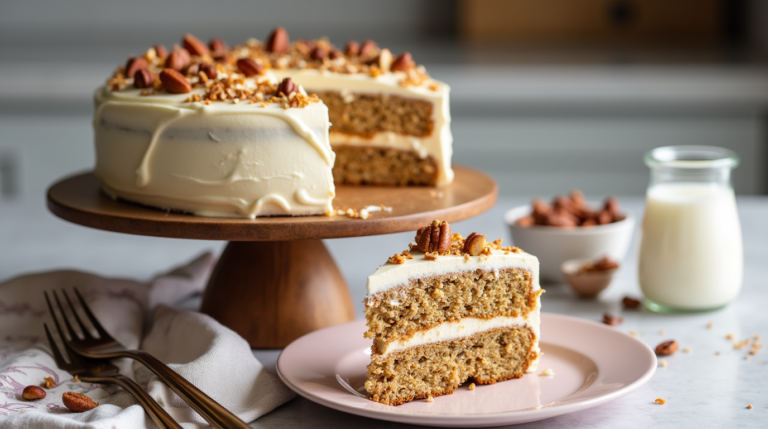
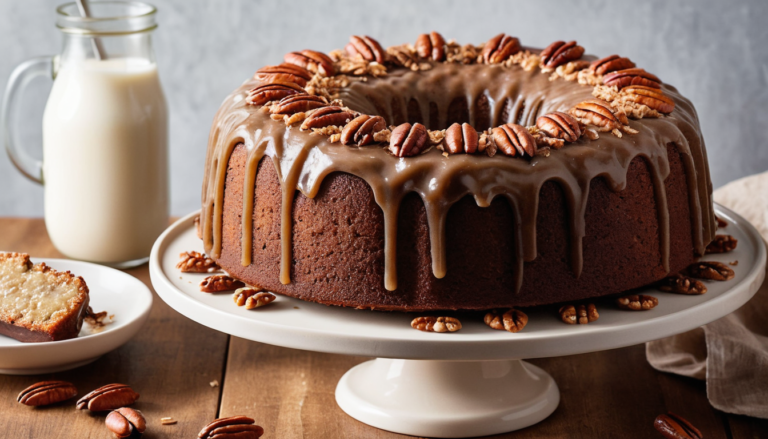
- Sprinkle crushed pecans or shredded coconut over the glaze.
- Use edible flowers or red velvet crumbs for a professional touch.
Tips for Perfecting Your Red Velvet Pound Cake
1. Avoid Overmixing
- Mixing the batter too much develops gluten, resulting in a dense, tough cake.
2. Use Quality Ingredients
- High-quality butter, cocoa powder, and vanilla extract make a noticeable difference.
3. Temperature Matters
- Ingredients at room temperature mix more evenly, ensuring a smooth batter.
4. Prevent Overbaking
- Check the cake at the 50-minute mark. Overbaking dries out the cake.
Creative Variations to Try
- Marble Red Velvet Cake
- Swirl some plain vanilla batter into the red velvet for a striking marble effect.
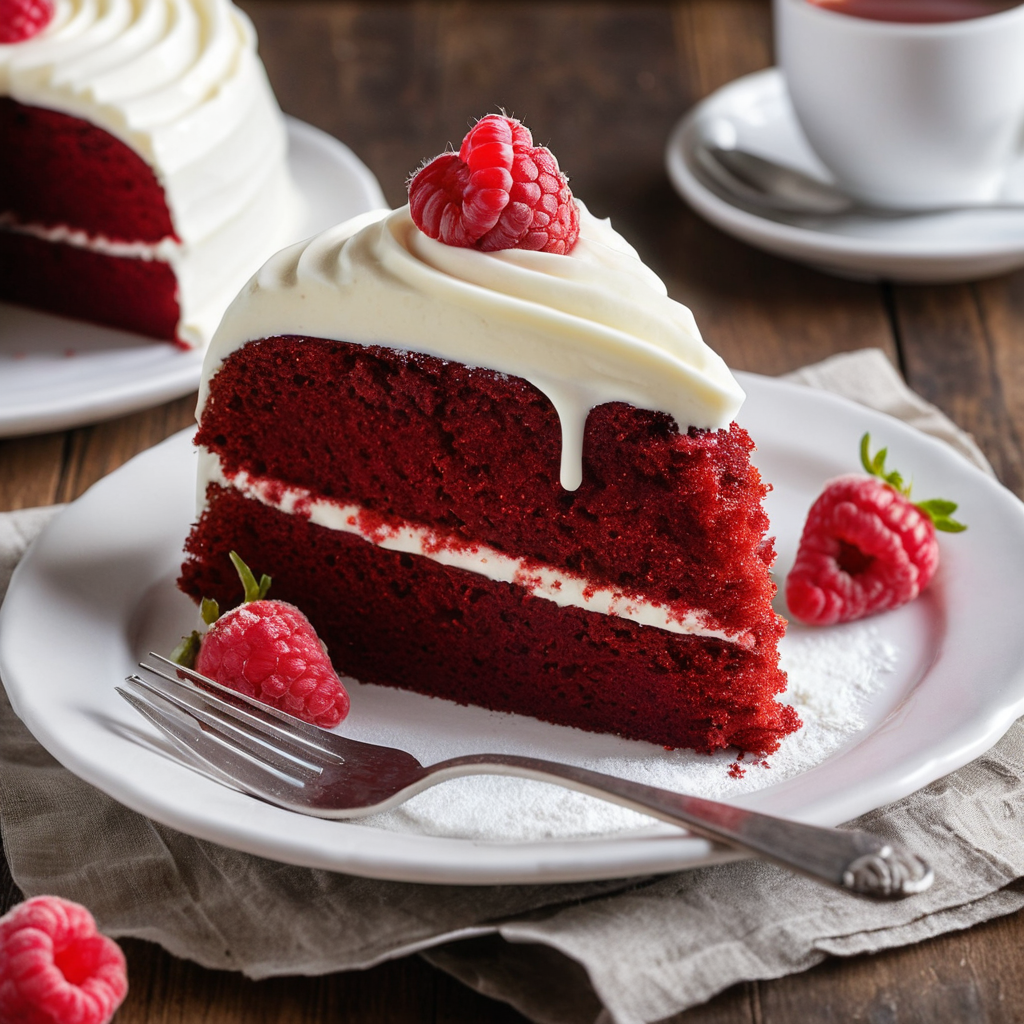
- Layered Red Velvet Cake
- Divide the batter into two pans and stack with cream cheese frosting between the layers.
- Mini Pound Cakes
- Use a mini bundt pan for individual servings—great for parties or gifts.
Common Mistakes to Avoid
- Skipping the Vinegar
- This tiny but essential component activates the cocoa powder, improving the cake’s flavor and texture.
- Using Too Much Food Coloring
- Excess coloring can alter the taste. Gel-based color is more concentrated and requires less.
- Not Cooling Properly
- Allow the cake to cool in the pan for 10 minutes before transferring to a wire rack.
The Science of Red Velvet Cake
Originally, the natural reaction of cocoa powder with acidic materials like vinegar and buttermilk produced the distinctive crimson hue of red velvet. With time, bakers started using food coloring to intensify this reaction for a more striking result. This chemical process is what gives red velvet its velvety texture and rich taste.
Red Velvet Trivia
- Did You Know? Red velvet cake became widely popular during the Great Depression when food coloring companies marketed it as a way to make desserts more appealing.
- Global Appeal: While it’s a staple in American bakeries, red velvet has gained international fame, appearing in forms like cookies, donuts, and even ice cream.
Serving Suggestions
Pairings for Maximum Enjoyment
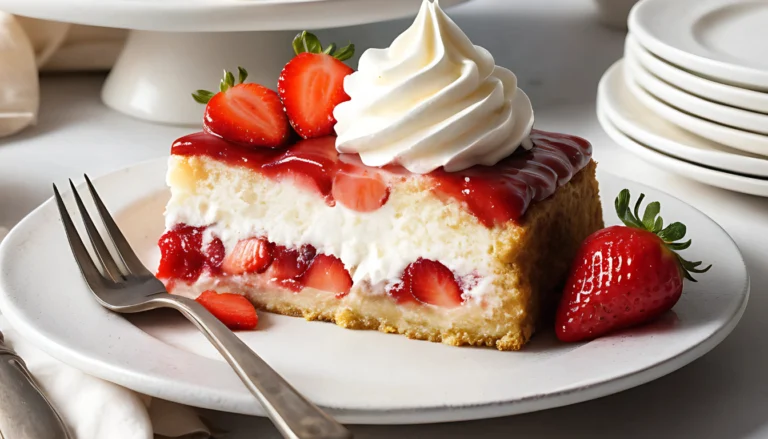
- A scoop of vanilla ice cream or a dab of whipped cream.
- Add fresh berries, such as raspberries or strawberries, for a refreshing contrast.
- A drizzle of melted chocolate for extra indulgence.
Seasonal Twists
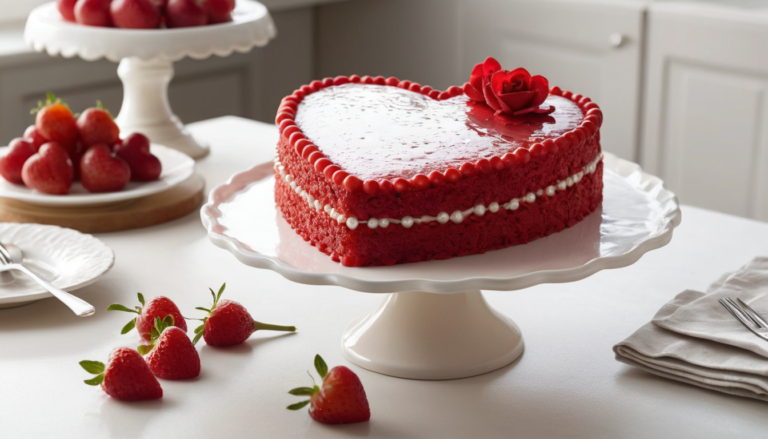
- Valentine’s Day: Add heart-shaped decorations for a romantic touch.
- Christmas: Pair with green sprinkles for a festive presentation.
- Halloween: Use black frosting to create a spooky-themed red velvet cake.
Conclusion
Baking the perfect red velvet pound cake is about more than just following a recipe—it’s about creating something that brings joy to the people you share it with. This recipe combines timeless techniques with rich, bold flavors, resulting in a dessert that will become a family favorite.
So why wait? Preheat your oven, grab your ingredients, and experience the magic of baking the best red velvet pound cake you’ll ever try.
Red Velvet Pound Cake
Ingredients
- 2 ½ cups All-purpose flour
- 1 cup Unsalted butter softened
- 2 cups Granulated sugar
- 4 lage Eggs
- 1 cup Buttermilk
- 2 tablespoons Red food coloring
- 1 tablespoon Unsweetened cocoa powder
- 2 tablespoons Vanilla extract
- 1 tablespoon White vinegar
- 1 tablespoon Baking powder
- ½ tablespoon Salt
Instructions
Step 1: Prep Your Kitchen
- Preheat the oven to 350°F (175°C).
- Grease and flour your bundt pan or loaf pans thoroughly to ensure an easy release.
Step 2: Combine Dry Ingredients
- Combine the flour, baking powder, cocoa powder, and salt in a large mixing basin and whisk to combine.
Step 3: Cream Butter and Sugar
- Using an electric mixer, beat the softened butter and sugar on medium-high speed until light and fluffy. This step incorporates air into the batter, ensuring a soft texture.
Step 4: Mix Wet Ingredients
- Add the eggs one at a time, beating well after each addition.
- Slowly pour in the buttermilk, vinegar, food coloring, and vanilla extract.
Step 5: Fold Everything Together
- The dry components should be added to the wet mixture gradually. Stir just until combined to avoid overmixing.
Step 6: Bake
- Pour the batter into the prepared pan.
- Use a toothpick inserted in the center to check for doneness after baking for 55 to 65 minutes.
Notes
Tips for Perfecting Your Red Velvet Pound Cake
1. Avoid Overmixing
- Mixing the batter too much develops gluten, resulting in a dense, tough cake.
2. Use Quality Ingredients
- High-quality butter, cocoa powder, and vanilla extract make a noticeable difference.
3. Temperature Matters
- Ingredients at room temperature mix more evenly, ensuring a smooth batter.
4. Prevent Overbaking
- Check the cake at the 50-minute mark. Overbaking dries out the cake.
Creative Variations to Try
- Marble Red Velvet Cake
- Swirl some plain vanilla batter into the red velvet for a striking marble effect.
- Layered Red Velvet Cake
- Divide the batter into two pans and stack with cream cheese frosting between the layers.
- Mini Pound Cakes
- Use a mini bundt pan for individual servings—great for parties or gifts.
Common Mistakes to Avoid
- Skipping the Vinegar
- This tiny but essential component activates the cocoa powder, improving the cake’s flavor and texture.
- Using Too Much Food Coloring
- Excess coloring can alter the taste. Gel-based color is more concentrated and requires less.
- Not Cooling Properly
- Allow the cake to cool in the pan for 10 minutes before transferring to a wire rack.
The Science of Red Velvet Cake
Originally, the natural reaction of cocoa powder with acidic materials like vinegar and buttermilk produced the distinctive crimson hue of red velvet. With time, bakers started using food coloring to intensify this reaction for a more striking result. This chemical process is what gives red velvet its velvety texture and rich taste.Red Velvet Trivia
- Did You Know? Red velvet cake became widely popular during the Great Depression when food coloring companies marketed it as a way to make desserts more appealing.
- Global Appeal: While it’s a staple in American bakeries, red velvet has gained international fame, appearing in forms like cookies, donuts, and even ice cream.
FAQs
Can I Use Liquid Food Coloring?
Yes, but gel coloring is better because it gives the batter a brighter color without changing its consistency.
How Do I Store Leftovers?
Wrap the cake tightly in plastic wrap and store it in an airtight container. It can be refrigerated for up to a week or left at room temperature for two to three days.
What If I Don’t Have Buttermilk?
A substitute can be made using one cup of milk and one tablespoon of vinegar or lemon juice.
Loved It? Let Us Know!
There are no reviews yet. Be the first one to write one.
One Comment
Comments are closed.